Cluster expansion
Once the Bootstrap node has been installed
(see Deployment of the Bootstrap node), the cluster can be expanded.
Unlike the kubeadm join approach which relies on bootstrap tokens and
manual operations on each node, MetalK8s uses Salt SSH to setup new
Nodes through declarative configuration,
from a single entrypoint. This operation can be done either through
the MetalK8s GUI or
the command-line.
Defining an architecture
See the schema defined in the introduction.
The Bootstrap being already deployed, the deployment of other Nodes will need to happen four times, twice for control-plane Nodes (bringing up the control-plane to a total of three members), and twice for workload-plane Nodes.
Todo
explain architecture: 3 control-plane + etcd, 2 workers (one being dedicated for infra)
remind roles and taints from intro
Adding a node with the MetalK8s GUI
To reach the UI, refer to this procedure.
Creating a Node object
The first step to adding a Node to a cluster is to declare it in the API. The MetalK8s GUI provides a simple form for that purpose.
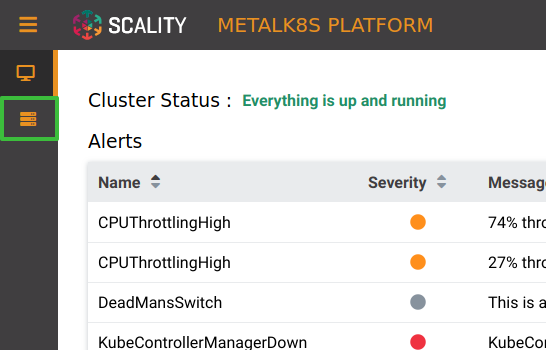
Navigate to the Node list page, by clicking the button in the sidebar:
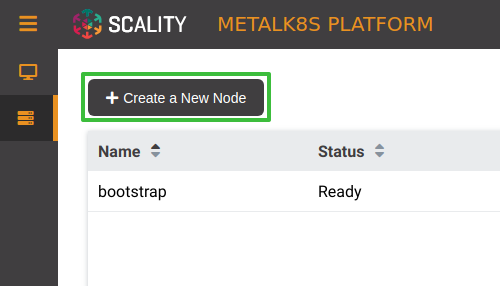
From the Node list (the Bootstrap node should be visible there), click the button labeled “Create a New Node”:
Fill the form with relevant information (make sure the SSH provisioning for the Bootstrap node is done first):
Name: the hostname of the new Node
MetalK8s Version: use “2.4.1”
SSH User: the user for which the Bootstrap has SSH access
Hostname or IP: the address to use for SSH from the Bootstrap
SSH Port: the port to use for SSH from the Bootstrap
SSH Key Path: the path to the private key generated in this procedure
Sudo required: whether the SSH deployment will need
sudoaccessRoles/Workload Plane: check this box if the new Node should receive workload applications
Roles/Control Plane: check this box if the new Node should run control-plane services
Roles/Infra: check this box if the new Node should run infra services
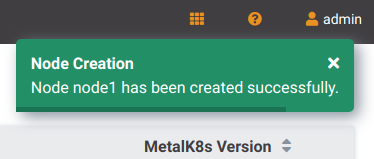
Click “Create”. You will be redirected to the Node list page, and will be shown a notification to confirm the Node creation:
Deploying the Node
After the desired state has been declared, it can be applied to the machine. The MetalK8s GUI uses SaltAPI to orchestrate the deployment.
From the Node list page, any yet-to-be-deployed Node will have a “Deploy” button. Click it to begin the deployment:

Once clicked, the button will change to “Deploying”. Click it again to open the deployment status page:
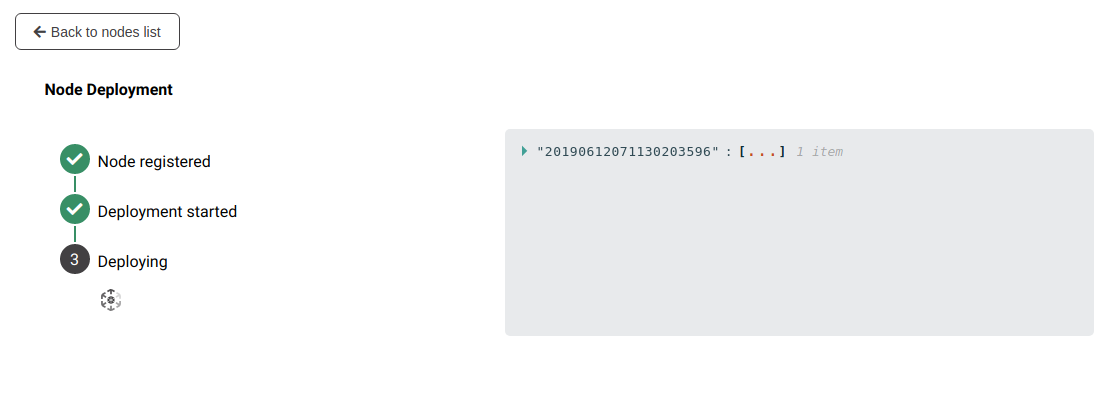
Detailed events are shown on the right of this page, for advanced users to debug in case of errors.
Todo
UI should parse these events further
Events should be documented
When complete, click on “Back to nodes list”. The new Node should have a
Readystatus.
Todo
troubleshooting (example errors)
Adding a node from the command-line
Creating a manifest
Adding a node requires the creation of a manifest file, following the template below:
apiVersion: v1
kind: Node
metadata:
  name: <node_name>
  annotations:
    metalk8s.scality.com/ssh-key-path: /etc/metalk8s/pki/salt-bootstrap
    metalk8s.scality.com/ssh-host: <node control-plane IP>
    metalk8s.scality.com/ssh-sudo: 'false'
  labels:
    metalk8s.scality.com/version: '2.4.1'
    <role labels>
spec:
  taints: <taints>
The combination of <role labels> and <taints> will determine what is
installed and deployed on the Node.
A node exclusively in the control-plane with etcd storage will have:
[…]
metadata:
  […]
  labels:
    node-role.kubernetes.io/master: ''
    node-role.kubernetes.io/etcd: ''
    [… (other labels except roles)]
spec:
  […]
  taints:
  - effect: NoSchedule
    key: node-role.kubernetes.io/master
  - effect: NoSchedule
    key: node-role.kubernetes.io/etcd
A worker node dedicated to infra services (see Introduction) will
use:
[…]
metadata:
  […]
  labels:
    node-role.kubernetes.io/infra: ''
    [… (other labels except roles)]
spec:
  […]
  taints:
  - effect: NoSchedule
    key: node-role.kubernetes.io/infra
A simple worker still accepting infra services would use the same role
label without the taint.
Creating the Node object
Use kubectl to send the manifest file created before to Kubernetes API.
root@bootstrap $ kubectl --kubeconfig /etc/kubernetes/admin.conf apply -f <path-to-node-manifest>
node/<node-name> created
Check that it is available in the API and has the expected roles.
root@bootstrap $ kubectl --kubeconfig /etc/kubernetes/admin.conf get nodes
NAME                   STATUS    ROLES                         AGE       VERSION
bootstrap              Ready     bootstrap,etcd,infra,master   12d       v1.11.7
<node-name>            Unknown   <expected node roles>         29s
Deploying the node
Open a terminal in the Salt Master container using this procedure.
Check that SSH access from the Salt Master to the new node is properly configured (see SSH provisioning).
root@salt-master-bootstrap $ salt-ssh --roster kubernetes <node-name> test.ping
<node-name>:
    True
Start the node deployment.
root@salt-master-bootstrap $ salt-run state.orchestrate metalk8s.orchestrate.deploy_node \
                             saltenv=metalk8s-2.4.1 \
                             pillar='{"orchestrate": {"node_name": "<node-name>"}}'

... lots of output ...
Summary for bootstrap_master
------------
Succeeded: 7 (changed=7)
Failed:    0
------------
Total states run:     7
Total run time: 121.468 s
Troubleshooting
Todo
explain orchestrate output and how to find errors
point to log files
Checking the cluster health
During the expansion, it is recommended to check the cluster state between each node addition.
When expanding the control-plane, one can check the etcd cluster health:
root@bootstrap $ kubectl -n kube-system exec -ti etcd-bootstrap sh --kubeconfig /etc/kubernetes/admin.conf
root@etcd-bootstrap $ etcdctl --endpoints=https://[127.0.0.1]:2379 \
                      --ca-file=/etc/kubernetes/pki/etcd/ca.crt \
                      --cert-file=/etc/kubernetes/pki/etcd/healthcheck-client.crt \
                      --key-file=/etc/kubernetes/pki/etcd/healthcheck-client.key \
                      cluster-health

  member 46af28ca4af6c465 is healthy: got healthy result from https://172.21.254.6:2379
  member 81de403db853107e is healthy: got healthy result from https://172.21.254.7:2379
  member 8878627efe0f46be is healthy: got healthy result from https://172.21.254.8:2379
  cluster is healthy
Todo
add sanity checks for Pods lists (also in the relevant sections in services)